
JMeter is one of the best open source tools in the Test Automation Community. It comes with all the possible extensions to come up with our test scripts quickly. To make our life even more easier, It also lets us to come up with our own plugins by implementing few interfaces. In this article, I would like to show you how we can create a custom plugin for JMeter – A Property File Reader. I had already shared this utility in this article. However I had NOT explained how it was implemented in the article.
Aim of this article is to help you to come up with your own plugin in case of any unique requirements where JMeter’s existing plugins do not help.
Goal:
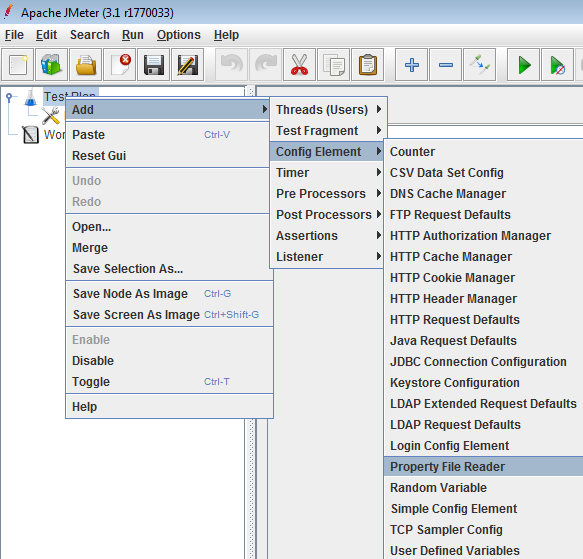
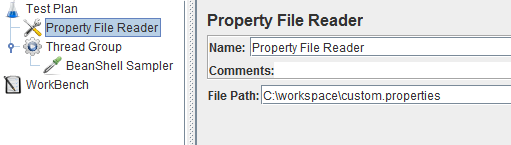
Our goal here is to create a property file which contains our test input parameters & create our config element which should appear in the below selection (as shown below) & read the given property file.
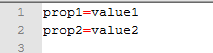
Once we added our plugin in our test, Our plugin should be able to read the property file and the test can directly use these properties in our test plan as shown here.
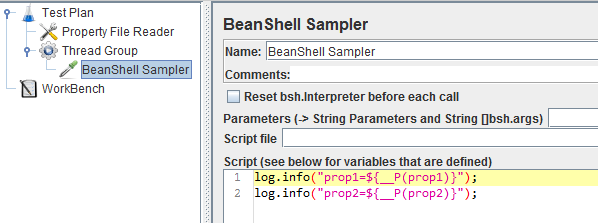
${__P(prop1)} will print value1
${__P(prop2)} will print value2
Reference:
I will refer to this ConfigTestElement which has to be extended to implement our ‘Property File Reader’ plugin & this JMeter tutorial to get some idea.
Setting Up IDE:
Lets first set up our IDE with all the dependencies.
- Create a simple Maven project
- Add below dependency for creating a custom function – add other dependencies as you need.
Creating Custom Config Element:
- Lets create a simple java class to read the property file.
import org.apache.jmeter.config.ConfigTestElement;
import org.apache.jmeter.testbeans.TestBean;

public class PropertyReader extends ConfigTestElement implements TestBean{

}
- TestBean is a marker interface to tell JMeter to make a Test Bean Gui for the class.
- We need to read the property file before the test plan gets executed. So we need to implement the corresponding interface – TestStateListener.
- Before implementing the actual logic in the above class, lets create the GUI class for our plugin.
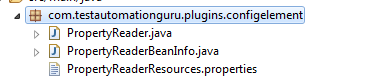
- Name of this GUI class should be [ComponentName]BeanInfo.java in the same package.
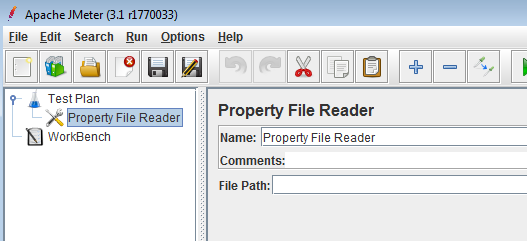
- We are going to have only one field in the GUI – File Path – which should contain actual file path of the Property file to be read.
- File Path – is basically a display name in the GUI.
- By default – the field should be blank if it is not set already.
- There should be a property file in the same package which contains the display name, short description etc
- Name of this property file should be [ComponentName]Resources.properties
- At this point, the package will look like this.
- Now, lets get back to our PropertyReader.java to implement the actual logic to read the property file.
- Lets add the public getter and setter for each field in the GUI.
- Now – it is time for us to add the logic to read the property file.
- We need to read the file before test starts.
- So, Add the below logic to read the file in the ‘testStarted’ method.
Export:
- Now export this package as a jar file or mvn clean package command will create the jar file.
- Place the jar in JMETER_HOME/lib/ext folder
- Restart JMeter
- You should be able to see the custom plugin we had created – Property File Reader – under Test Plan -> Config Element
- Add the config element into the test plan & It will look as shown below.
Testing our Plugin:
- Add the config element we had created. Set the property file path.
- Add a BeanShell Sampler to print the property values.
- Run the test – check the log
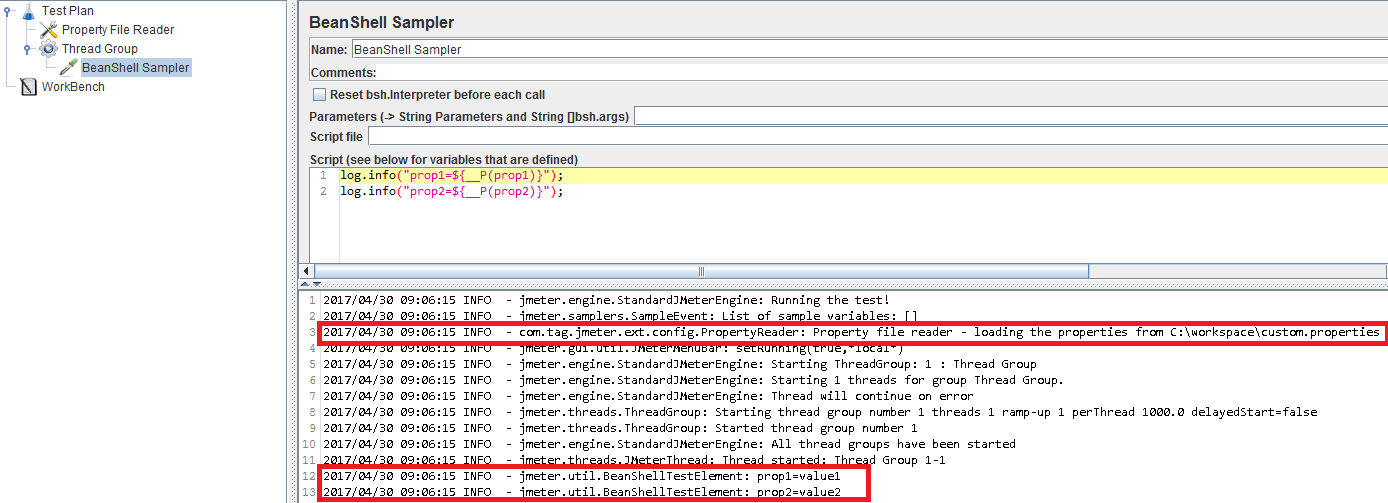
- Our property file was read only once for each test run
- It prints the values of the property.
Exercise:
Create a custom config element which uploads the JMeter result (.jtl) file to Amazon S3 bucket once the test finishes.
Hint:
- Create a simple java utility class to upload a given file to Amazon S3. You can find some examples here.
- Now follow the same approach I had explained here to the read property file.
- Add the logic in the ‘testEnded’ method to call the utility to upload the file in Amazon s3.
Summary:
Our Property File Reader works as expected. How can we use this PropertyFileReader efficiently!?
I had already explained this in this article for the proper use of PropertyFileReader. I would request you to read the article and provide your feedback!
Happy Testing & Subscribe 🙂