

Overview:
One of the common challenges we face while automating our tests is – switching between open windows. Many of us would have seen the code as shown below.
// get the current window handle
 String parentHandle = driver.getWindowHandle();
 for (String handle: driver.getWindowHandles()) {
     if (!parentHandle.equals(handle))
         driver.switchTo().window(handle);
 }
There is nothing wrong in the above code to switch to a new window! But it looks a bit ugly. Once some action is performed in the new window and if you have to perform some other action in the old window, you should NOT forget to switch back to the old window. Otherwise, your script might fail. So how to avoid this kind of challenges!?
Lets see how we could switch among multiple windows without much boilerplate code! I will be using the Guice library for this article! I would suggest you to read Guice + WebDriver integration article first if you have not already.
Goal:
Our goal is to have a clean, easily maintainable page objects. Switching among the open windows should be easy! Page objects themselves should know how to switch without you writing much code!
Demo:
By default, we create a separate page object for each page in the application. Since a new window of the application is a separate page, we can assume that we would create a separate page object for that as well.
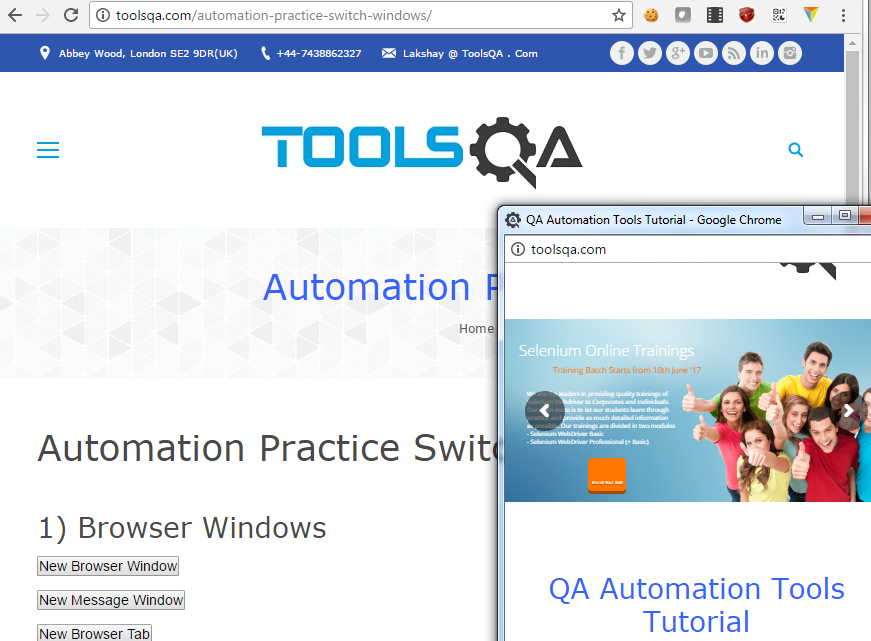
For this example, Lets consider this below ToolsQA site for our demo!
I create below very simple page objects for above pages.
Below page object is for the main window.
public class ToolsQA {

    private final WebDriver driver;

    @FindBy(id = "button1")
    private WebElement newWindow;

    @Inject
    public ToolsQA(WebDriver driver) {
        this.driver = driver;
        PageFactory.initElements(driver, this);
    }

    public void goTo() {
        this.driver.get("http://toolsqa.com/automation-practice-switch-windows/");
    }

    public void launchWindow() {
        this.newWindow.click();
    }

    public String getTitle() {
        return driver.getTitle();
    }
}
This page object to interact with the elements in the pop up window.
public class ToolsQANewWindow {

    private final WebDriver driver;

    @Inject
    public ToolsQANewWindow(WebDriver driver) {
        this.driver = driver;
    }

    public String getTitle() {
        return driver.getTitle();
    }
}
Now, I want to execute below test – simply to switch back and forth between the windows. Just for this example, I print only the title of the window.
public class ToolsQATest {

    @Inject
    private ToolsQA toolsQA;

    @Inject
    private ToolsQANewWindow toolsQANewWindow;

    @Test
    public void switchTest() {

        toolsQA.goTo();
        toolsQA.launchWindow();

        for (int i = 0; i <= 5; i++) {
            System.out.println(toolsQA.getTitle());
            System.out.println(toolsQANewWindow.getTitle());
        }

    }
}
Output:
Demo Windows for practising Selenium Automation
Demo Windows for practising Selenium Automation
Demo Windows for practising Selenium Automation
Demo Windows for practising Selenium Automation
Demo Windows for practising Selenium Automation
Demo Windows for practising Selenium Automation
Demo Windows for practising Selenium Automation
Demo Windows for practising Selenium Automation
Demo Windows for practising Selenium Automation
Demo Windows for practising Selenium Automation
Demo Windows for practising Selenium Automation
Demo Windows for practising Selenium Automation
It always shows the same title even though the pop up window has a different title. This is expected. Because as you might have noticed, We just launched the new window & we have not switched to the new window anywhere in our test / page object in the above example. If we do not switch, driver continues to interact with the current window. That is why, It always prints the same title.
I correct that by adding an annotation @Window(1) to the page object of the New window as shown here. 1 is the index and it starts from 0. It basically tells the driver to look for the elements in the 2nd window.
@Window(1)
public class ToolsQANewWindow {

    private final WebDriver driver;

    @Inject
    public ToolsQANewWindow(WebDriver driver) {
        this.driver = driver;
    }

    public String getTitle() {
        return driver.getTitle();
    }
}
I reran the test after adding the annotation.
Output:
Demo Windows for practicing Selenium Automation
QA Automation Tools Tutorial
Demo Windows for practicing Selenium Automation
QA Automation Tools Tutorial
Demo Windows for practicing Selenium Automation
QA Automation Tools Tutorial
Demo Windows for practicing Selenium Automation
QA Automation Tools Tutorial
Demo Windows for practicing Selenium Automation
QA Automation Tools Tutorial
Demo Windows for practicing Selenium Automation
QA Automation Tools Tutorial
This is exactly what I wanted!! driver gets switched to the appropriate window automatically and the Page objects know where to look for their elements.
You do not have to use index if you do not like. You might like to use Windows title as shown here instead of index.
@Window(".* some windows Title goes here .*")
public class ToolsQANewWindow {

    // add your logic to filter the window by the name

}
Are you curious how it works? Lets see how it has been implemented.
Implementation:
@Window:
This is a simple annotation definition. Default window index is 0.
import static java.lang.annotation.ElementType.TYPE;
import static java.lang.annotation.RetentionPolicy.RUNTIME;
import java.lang.annotation.Retention;
import java.lang.annotation.Target;
import com.google.inject.BindingAnnotation;

@BindingAnnotation @Target({
    TYPE
}) @Retention(RUNTIME)
public @interface Window {
    int value() default 0;
}
Guice Method Interceptor:
Guice has a method interceptor. This feature let us write some code which gets executed every time before any method of your class / Page objects gets executed. That is, below invoke method gets executed every time, before ‘getTitle()’ method of the above page object gets executed – behind the scenes!
public class WindowInterceptor implements MethodInterceptor {

    @Inject
    private WebDriver driver;

    @Override
    public Object invoke(MethodInvocation invocation) throws Throwable {
        int index = invocation.getMethod().getDeclaringClass().getAnnotation(Window.class).value();
        this.switchToWindow(index);
        Object obj = invocation.proceed();
        this.switchToWindow(0);
        return obj;
    }

    private void switchToWindow(int index) {
        String handle = this.driver.getWindowHandles().toArray(new String[0])[index];
        this.driver.switchTo().window(handle);
    }

}
In the above class, We access the index value of the window annotation. Based on the index, we switch to the appropriate window. If you use windows title, you need to check all windows matching the title here.
Guice Module:
Update Guice module to include the interceptor. We bind all the classes annotated with ‘Window.class’. So any method of those classes will be intercepted.
public class DriverModule extends AbstractModule {

    @Override
    protected void configure() {

        //DriverManager config
        bind(DriverManager.class)
            .to(ChromeDriverManager.class)
            .in(Scopes.SINGLETON);

        //Windows interceptor
        MethodInterceptor interceptor = new WindowInterceptor();
        requestInjection(interceptor);
        bindInterceptor(Matchers.annotatedWith(Window.class), Matchers.any(), interceptor);

    }

    @Provides
    public WebDriver getDriver(DriverManager driverManager) {
        return driverManager.getDriver();
    }

}
That is it!
Summary:
By adding a simple annotation to a page object and using guice method interceptor, we automatically switch between the windows. The above guice config, after proper implementation, can be exported as a library and can be reused in other projects. It saves us a lot of time from writing a boiler plate code. The code looks much better, clean and neat! It is less error-prone as you do not have to remember to add the code to switch back to the main window.
Happy Testing & Subscribe 🙂
Hello,
I’m getting “java.lang.NullPointerException” exception on below. Please advise.
public void switchTest() {

    toolsQA.goTo();

    toolsQA.launchWindow();

    for (int i = 0; i <= 5; i++) {

        System.out.println(toolsQANewWindow.getTitle());}